Friday, October 12, 2012

Wood Pallet Shelves

Pallets are my FAVORITE! Today I found 2 behind Walgreen's, texted Kurt a very excited text. His response, "We already have 4!!!!!!" {we have 2 left} I'm beginning to be a pallet hoarder. I, however, stand by my reasoning...If I make very cool things with them then it's ok to *hoard* them. I love the hunt, the sneaky "stealing" {asking nicely if I may have them} feeling, the "YES, SCORE!" feeling I get when I drive away and look in the back of the Suabru to see them gleaming back at me!

Here's what my latest pallet find (not today's) turned into: SHELVES!

This pallet was a perfect one for this. {I dove right in and forgot the before and in the middle photos...apologies} I did not have to alter the pallet in any way I simply took my handheld circular saw and cut it down the middle. I chose to cut through the middle piece of wood, but later laughed thinking how much easier it would have been to simply cut between two pieces. I attempted to cut straight, but given my blade kept stopping it didn't happen, which is ok it just adds to the rustic, imperfect appeal.  

('9th Bottle' is from Kurt's home made wine-Divination)


In order to make them shelves I added a piece of wood in between the slots (see below pic). I used 1"x2" scraps I had on hand. Simply put a screw in each side/middle, high enough up you wouldn't see the boards looking straight on and just like that shelves! I stained mine a dark oak color, but you could leave them natural if your heart/finances so desired :) Let dry and hang however you see fit. We simply {very trickily and not so wall friendly} found studs, put in a big ol' nail and set them on the nail, hammering it in to place. Most impressive idea of it all-- I put felt squares on the corners to avoid rubbing the paint off the wall :)


I love the bottle of wine we were drinking while hanging these on the wall... "Found Object" so fitting and now part of the pallet decor!

So there it is folks--Pallet Shelves Total Cost: FREE 
*or about $3 for stain and screws and an additional $1 if you need to buy a 1x2 board 

~Melissa~
<3
~Zigzags and Blossoming~

P.S. You are lucky I survived this project I had to cut the boards right in scorpion alley!!

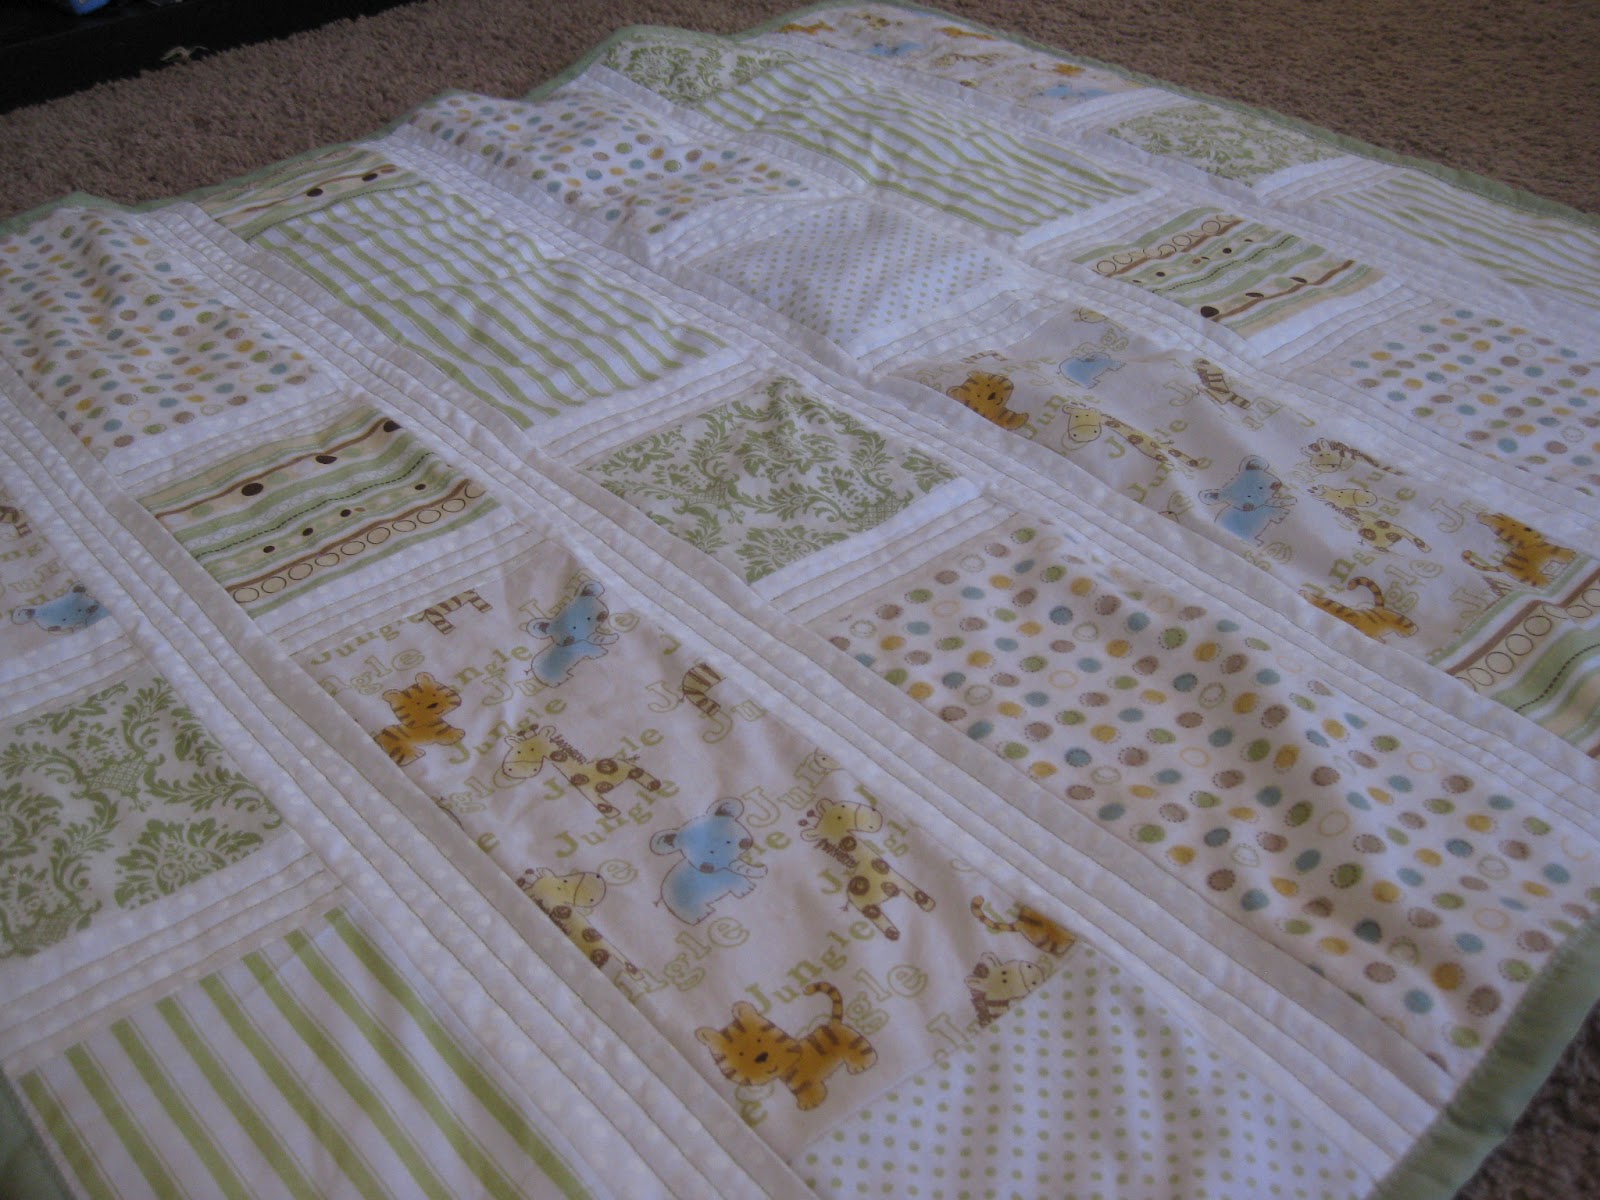
Super Soft Baby Blanket/Quilt

One of my dearest friend's had her first baby this summer!! I made him this baby blanket to cuddle up with in the cold Washington Winters! I call him Leapster because of how he moved in momma's tummy :)


All cozied up!! Love you lil Bryson!!

Then a gift for mom to be was necessary too! Added a little black lace to an otherwise normal black top


It's Been Too Long!


Hello! Someday I'll learn to be consistent with my blog posts ;) Ok let's be honest I try, I really do. In the last 5 months we have moved 3 times, so to say I haven't been busy would be a lie. I also have been offered and accepted a position that is a giant leap closer to my career goal to be a Certified Nurse Midwife--starting Monday I will be a postpartum nurse! Couldn't be more excited about what's happening in my professional life!

Now for the crafty aspects:

In all of this craziness I have still been creating--that part of me won't let you down.

What have I created you ask: (will be linked up when the blogs are written)

*Super Soft Baby Blanket/Quilt
*Layered Lace Skirt Upcycle
*Pallet Shelves
*Long Maxi Skirt with a Train
*Hurricane Vases and Wall Mirror- Dollar Tree Crafts
*Civil War Tutu's
*Tutu Tuesday for Breast Cancer Awareness
*Rolling Chalkboard Pantry
*Patio Remodel
*Yummiest Veggie (burger) Patty EVER
*Creating Muscles
*Fall Favorites

In the meantime here's some updated pics of my munchkins:


PERFECT AIM!!


<3
      Melissa

Monday, April 23, 2012

"Relax" Wood Pallet Headboard

A few months ago I promised a tutorial on how I did our guest room headboard, so here goes! House Tweaking has the tutorial that inspired our headboard. Although I just saw the photo prior to my headboard, now that I have read their tutorial I learned they used fence wood. So you could use whatever kind of wood you can get your hands on. :)

Step 1: Find some pallets! There is all sorts of info out that you should not use wood pallets or you should  use them… Since you are reading this I am going to assume you are ok with them and have done your own due diligence. {I found mine at a landscaping place. Just asked real nice!}

Step 2: Break the boards off now pending on how old your pallets are makes this a different process. We tried whacking the heck out of it with a hammer which resulted in a LOT of noise, boards breaking and very little action! In the end Kurt wisely suggested a splitter/wedge/bar device. It took me less time to split the nails between the boards for both pallets than it did to try out the hammer approach!


Step 3: Choose which pieces you want to use. Play with this part. All of mine were different so I went to town mixing and moving to decide my layout. 


Step 4: Cut the pieces to the length you want. 

Step 5: Sand smooth. I like the natural look, so he kindly did not sand it away.


Step 6: Use two additional pieces (I did one and its a bit wobbly so do two!) to mount the boards to. I wanted to use the original nail holes as much as possible, but did have to make a few of mine own.

Step 7: Add a wood conditioner and follow that up with a stain of your choosing. I wanted the original colors and knots to show through, so I used a lighter stain.


Step 8: Decide on a word or phrase and paint it on!  You could make a stencil I suppose, but I went freestyle for ours! 


{On choosing what to write…. I didn't want to copy the exact headboard from House Tweaking, so Kurt and I brainstormed together. After much debate I decided on "Relax". Kurt's awesome suggestion, which I will throw out for you to use: the Latitude and Longitude of a special place. If we were married already or had a destination we always travelled to I would have pounced on this idea! I guess we will save it for another project!}

I hope our guests feel relaxed in their home away from home when they visit us!

<3 Melissa Delight