Posts to follow... Dos and Don'ts from our experiences...


Easy DIY

A tedious DIY but SO worth it! These retail in the $100s my cost about $20 maybe

Pretty Girls
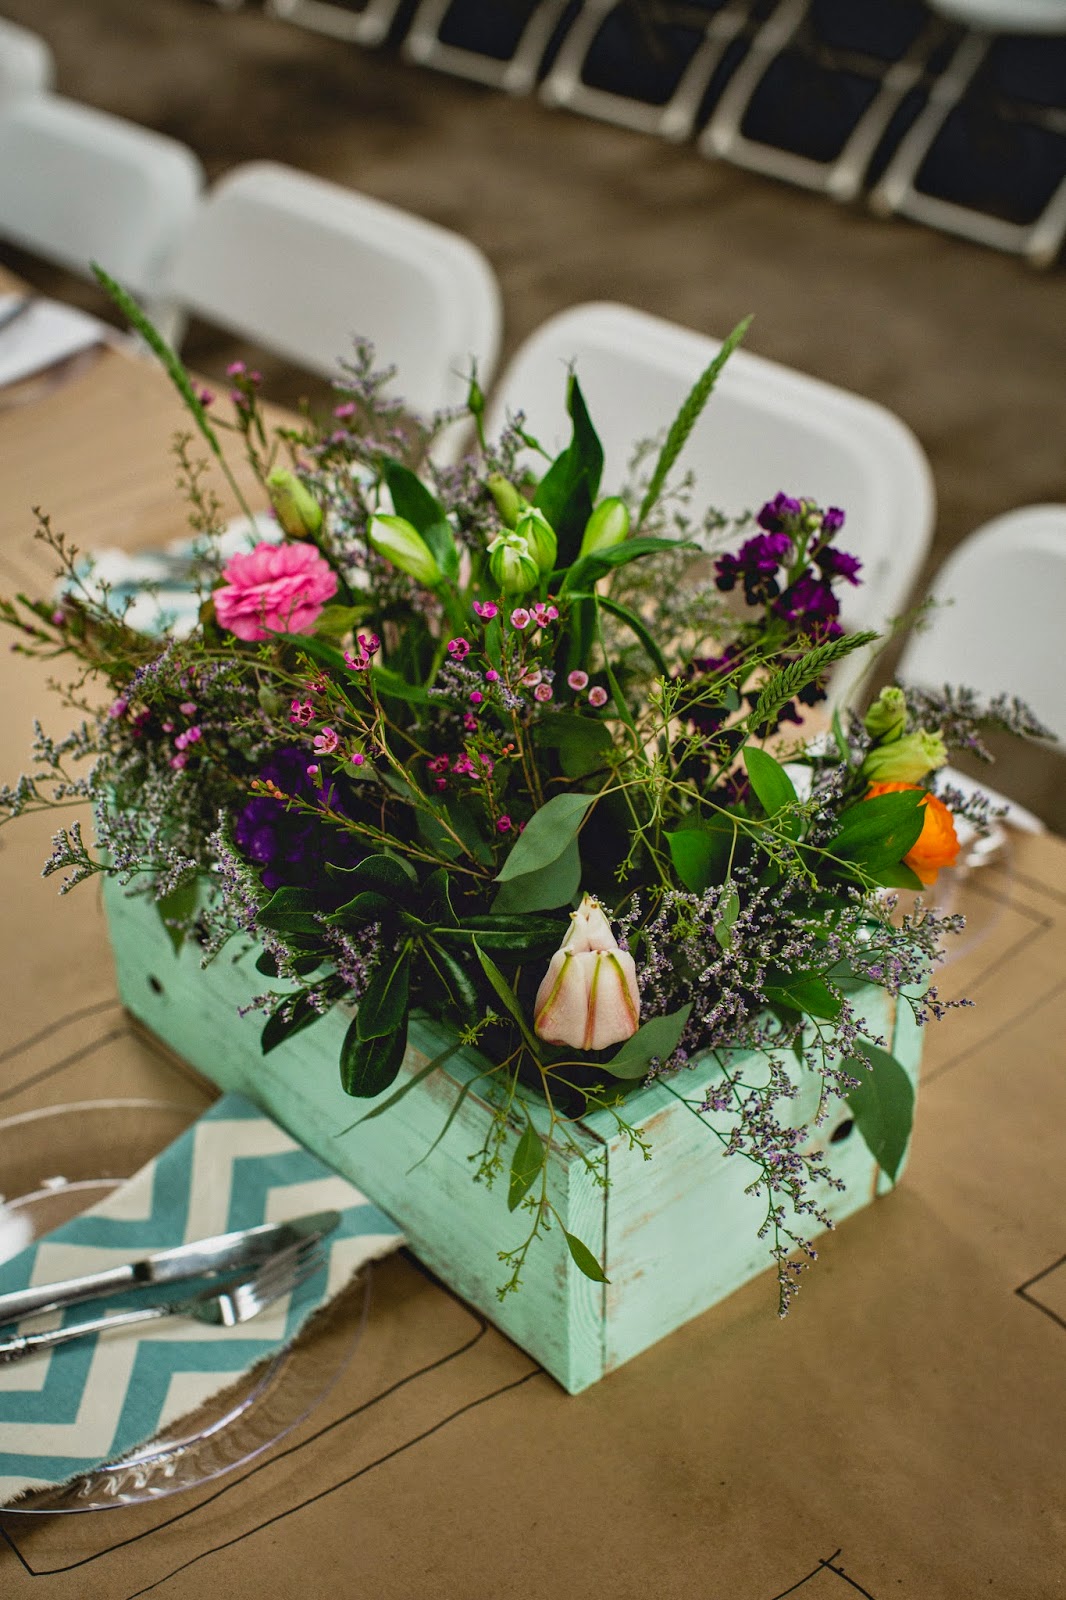
DIY these boxes and the floral arrangements. All flowers done by a friend of my moms.

DIY Handmade seed paper hearts, machine stitched packaging

Custom beer made by some of our wonderful friends! So fun to get to name them ourselves!

My handsome new hubby made us these chalkboard arrows.


First look with the flower girls!


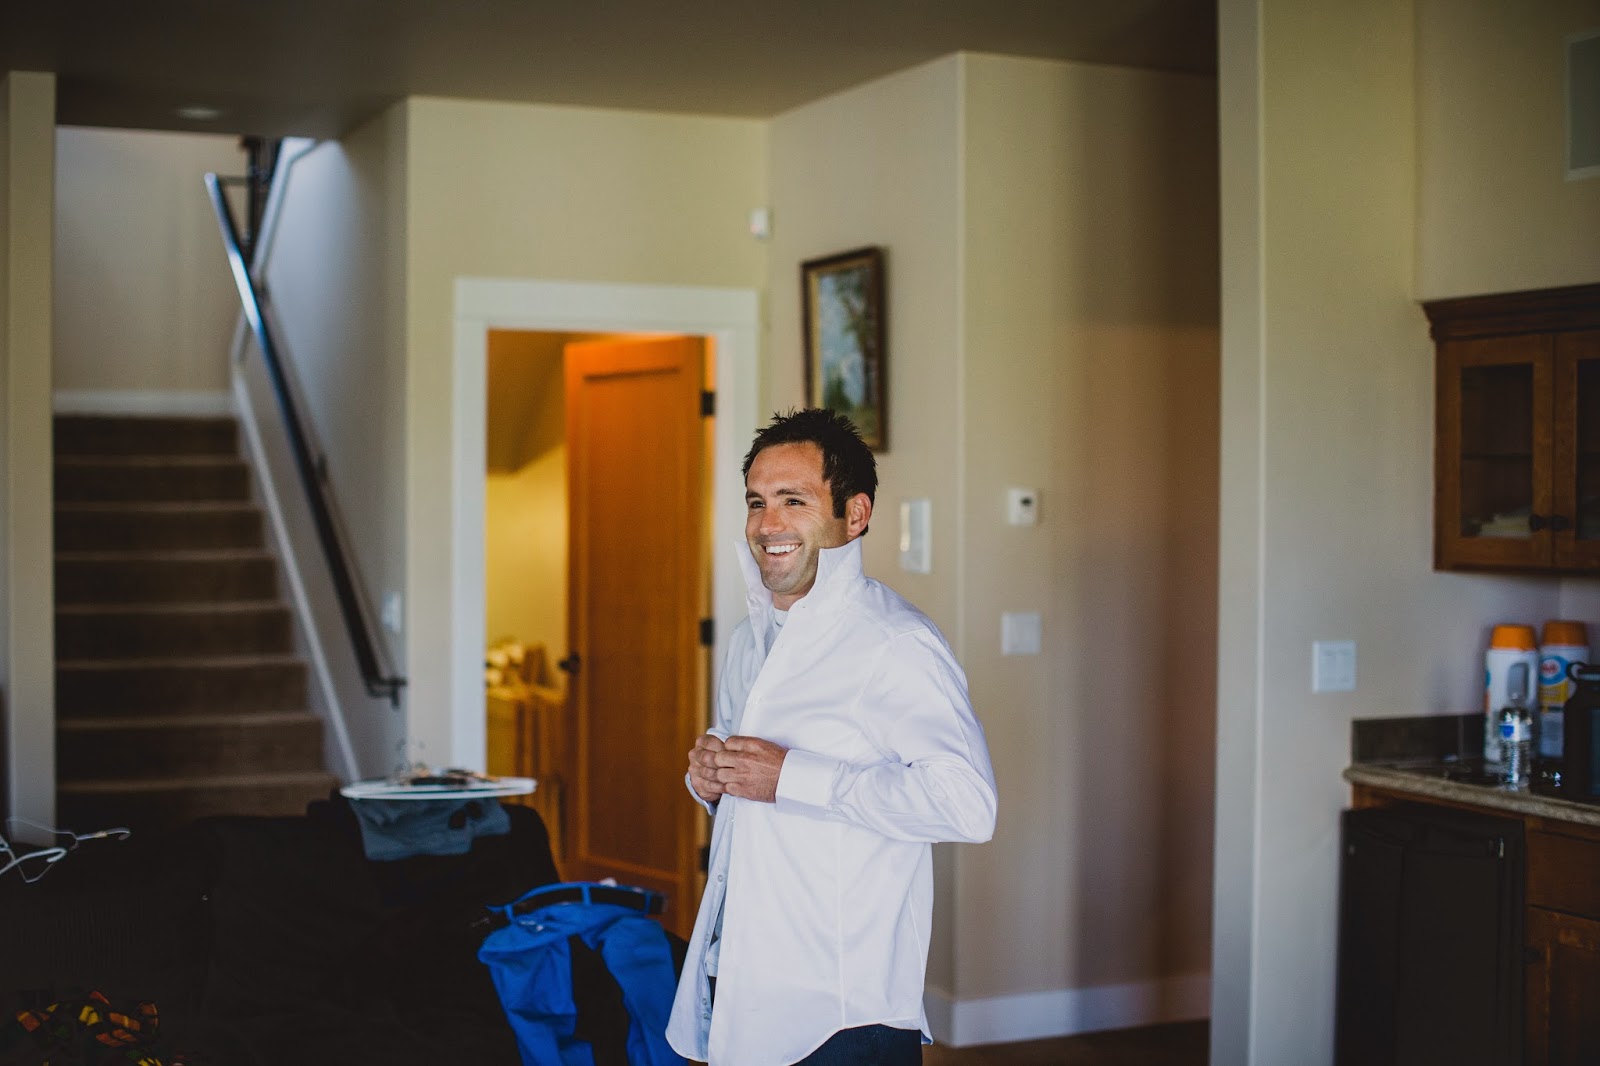
First "chat" with my guy! No peeking! Man he's handsome!

"Melsia looks pretty today. Love, Hudson" Huds gave this to Kurt when he walked down the aisle.


Three generations

Somebody always pinches someone!

My parents are absolutely incredible! Inside and out!

Germaine did a foreign exchange from South Africa through Rotary and lived with us in 2001. He later began a Fullbright Scholar at U of O and again spent his free time with us. He is the older brother from another mother and well, dad. :)


We are a family of 6 now :)

Such fun kiddos!

First look with my brothers and dad. LOVED THIS MOMENT!


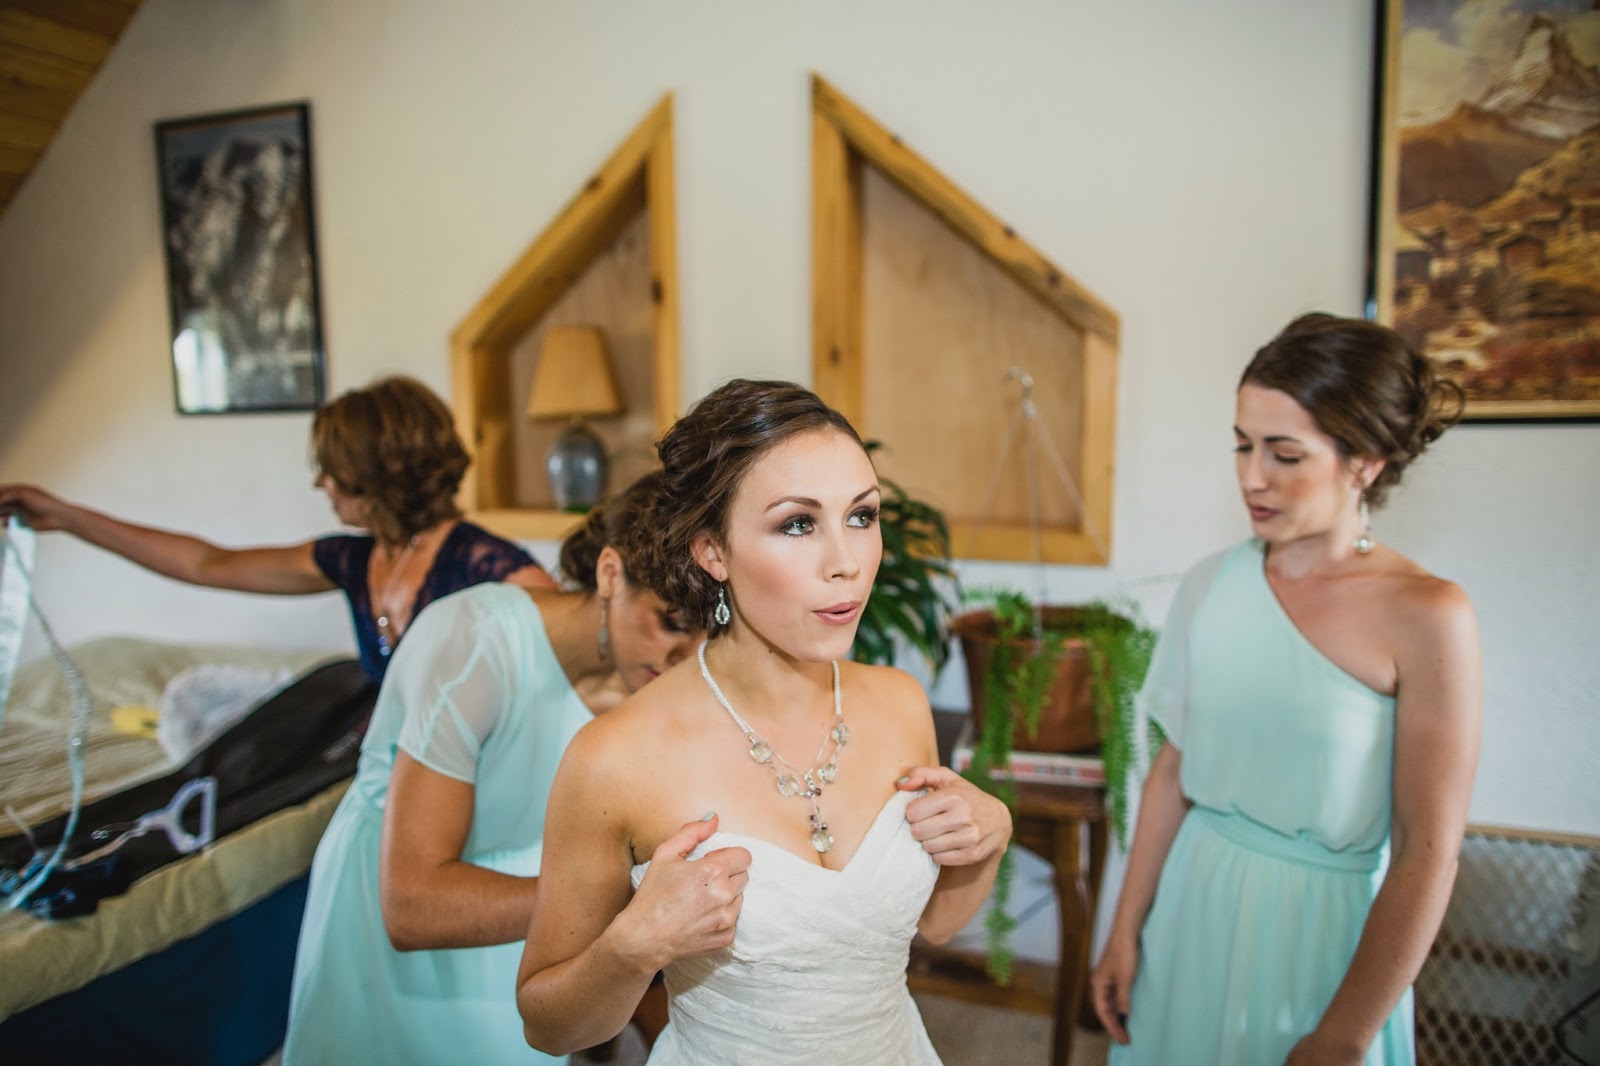
My mama doing some spying...

I made Cooper and Kulah matching bow ties

Suspenders from Etsy and Flower girl dresses made by me

Germaine sang me down the aisle accompanied by my cousin Morgan
Music: "Somewhere Over the Rainbow"

"Knock, Knock" The doors (made by my father, painted by mom and in-scripted by me) closed for my arrival. Kurt remained turned around until we made it behind the doors. When we knocked he turned around.

Love him.


We had every person that went down the aisle add seeds to a pot. We also invited 4 couples who mentored us during our engagement come up and add seeds.

We wrote our own vows. Loved this detail.

We watered the seeds together and then had a moment to take it all in together.
Music: "Indescribable-Chris Tomlin" Sung by Germaine


Done and Done!!


I made my veil :)


Custom designed programs printed by us. Cost $5 plus ink for 100

My brother gave Kurt a belt buckle as his wedding gift. Gotta show those off!

My gpa has popped his teeth out for as long as I can remember.
It only makes sense he would today too!

3 generations of wedding rings.


Games during Happy Hour while we took photos


Dessert bar- 12 family and friends brought 2 dozen of their favorites

This is my neighbor's truck. I saw it in their driveway when I got to town
and insistently knew it needed to be present for wedding day!


K and M made by my groom :)


All signs made by us and painted by me.


Thank you to a photographer who thinks outside the box.
This was the neighboring property with this awesome barn.


I wanted a long veil for this very moment. Thank you wind for cooperating.


Can we classify this as one of those "Pinterest Fails"? Lol
No it is not attached to the barn it's just blowing! Thank goodness for bobby pins!


We had puzzles made from "Puzzle You" of our engagement photos, my mom an helpers put them together, everyone signed them and now they're back in their box for us to put them back together and read everyone's messages!


Momentos on this table: Our very first notes to each other modge podged to wood. Our photos on canvas and a "Our Adventure in Love" Sign


How it all began! Thank you Cooper!

Handmade cake toppers. I made 2 because I didn't know
which size would work best, but it ended up double the love was more fun!

Raw emotion listening to my dad's speech. He was either thanking my mom and wishing us just a sliver of the marriage they had or thanking my brother for his upcoming service in the US Army in Afghanistan

I had a Shutterfly book made for my brother for him to take with him.
Also, on this table framed photos of all wedding guests who are past or present military.

Guest Book

My Grandpa has begins signs of dementia and I am so blessed to have him out on that dane floor!

I made this veil too.


Yup, that's a snorkel.


Favorite action shot of the night!! Go, Brother. Did I mention my Arizona bestie got the bouquet....YES! That must happen! ;)

We did it. Pound it!